
What is WordPress? How to create a WordPress Website? The following basic steps will guide you to make a WordPress website as you like.
What is WordPress?
WordPress (wordpress.org) is an open-source blogging platform programmed in PHP codes and MySQL databases, which supports you to create and run a website through account creation and quick settings.
Step 1: Start choosing and buying a shared hosting and domain
Shared hosting and a domain are not too high. This investment is totally right for starting a website.
While you are a beginner, WordPress shared hosting is easy to manage and run a WordPress blog or website without a headache to compare with VPS or dedicated server. Moreover, this kind of hosting has a really low price, some hosting companies offer only a few dollars per month. However, I recommend you to choose a hosting for your WordPress website not lower than 4 USD per month because of what you pay for is what you get.
It is easy for you to start checking a shared hosting at sectorlink, which is real cloud shared hosting and is simple to be managed.
The second part of this step is to buy a domain. While some sites can run on a free hosting and domain name, I absolutely say with you to avoid doing this. You are lowering your efforts and business because of an unprofessional look, so when your readers or customers recognize you are using a free domain for your work, they do not believe and leave your site quickly.
Thus, go to check the nice name of the domain at www.namecheap.com to get it now for your business. Just from 8.8USD per year for one. Not bad.
I recommend you use Namecheap because this is very easy to buy and manage your domains. While you do not know much about setting up DNS, Namecheap offers quite simple management. Let’s go to do it.
Pro tips: You should not buy a domain at the same company with your hosting firm. In case, you do not like the features of hosting services, you can move to another one easily without any troubles and worries.
Step 2: Connect a domain and hosting together
Your website can only complete running when the domain and hosting are connected. So, to do this you have to:
* Add the domain to the host, manipulating this setting on the hosting management dashboard. Usually, for the first domain of a website, when you buy shared hosting, the hosting company connects it for you. Thus, you do not need to worry about this one when you run your first website.
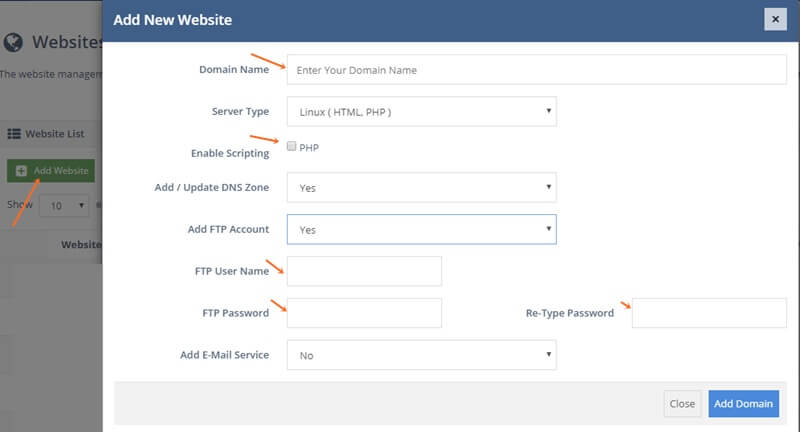
Howerver, here is an example to add a domain to the hosting when you use the host of sectorlink. When you choose “Add Website”, a form appears to ask you information to add your domain to connect it. That is a simple and fast way, that is one of some important reasons which I recommend you to use sectorlink.
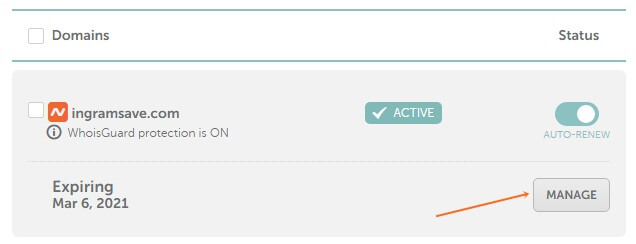
* Connect the IP or DNS from the domain to the host, this setting is done in the domain dashboard. With the domain on Namecheap, you login into the dashboard of the domain, go to the domain which you want to start, choose the manage tab, then customize DNS, add DNS to the domain.

There are common 2 couples of DNS: ns1.hostingdomain.com & ns2.hostingdomain.com. This DNS is supplied by the hosting companies, which comes to your email when you register to buy hosting.
Remember to save it when you finish editing. Wait few minutes up to 48 hours for all DNS updating. For using Sectorlink and Namecheap, it just needs to wait for under one hour with my experience.
Step 3: Proceed to install the WordPress platform for running the website
After the domain and hosting have been connected, you continue proceeding to install the WordPress platform on the host to run your website, which will allow you to edit and customize the website.
Starting in step 3, you need to create a database of MySQL on the hosting. Navigate to the Database or MySQL area and begin establishing the database name and user. Then, you connect them together.
You can check the example as below below, but note that at different hosting suppliers, the way to create the database is a little different, but not too difficult.
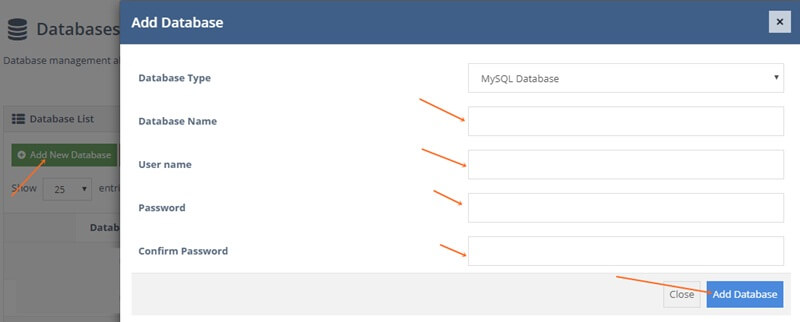
A database name, username, and password should be written down for using it later when you install the WordPress platform.
There are two ways to install the WordPress platform:
One-click or automatic installation: Most of the hosting companies have one-click or automatic WordPress installation section and you just need to install it in a few simple easy steps. You find the installer at the software section, and you see the icon of WordPress. That is the feature to start installing WP automatically.
Manual installation: You can also install WordPress software manually using FTP Filezilla, Core FTP, or come directly to the File Manager of Control Panel of hosting management.
When you start installing it, the system will ask you the information, for example, database name, username, password, admin, and admin email of website… You follow these questions to finish installation.
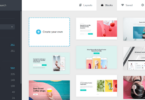
Step 4: Select an interface or a theme for your website
After installing the WordPress platform, your website has a simple default theme. You can change another one to help your site look more beautiful and professional.
Themes for WordPress websites have two basic types: Free themes and Premium themes which you will pay for.
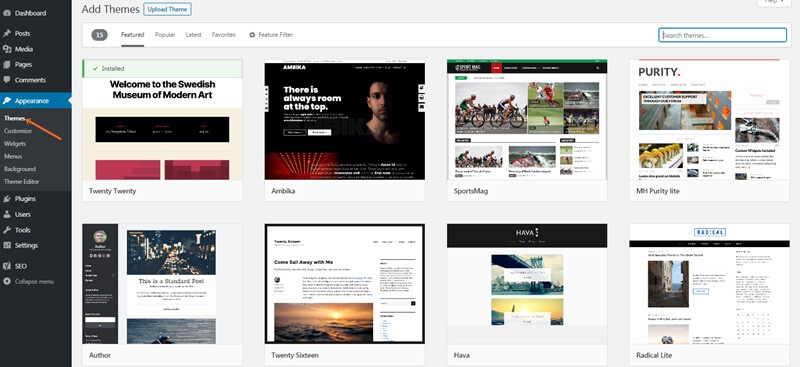
Free themes offer directly on wordpress.org. To select one of them, you move to the dashboard of WordPress, Appearance, then Themes, Add new. Immediately, hundreds of free themes show out. Choose it, and install, and Active the theme. Done!
Premium themes are also found on wordpress.org, but most of them come from other companies on other websites. Paid templates have more features and great designs. Many theme services give you plenty of choices. I like to get them from these places: themeforest.net, theme-junkie.com, elegantthemes.com.
I have been a lifetime member of theme-junkie.com for a long time. So, if you want to get one of the themes from theme-junkie.com, please tell me! I can give it to you, install a theme like a demo and guide you to use it with a small fee. Contact me!
After having a favorite theme, you begin to edit and customize the interface to make your website suitable for your business.
Step 5: Install essential WordPress plugins
WordPress Plugins are tools that have specific features, which WordPress source codes do not integrate. Like themes, the WordPress Plugins have two types of paid and free ones. You can choose one or more of them to fit your needs.
The essential WordPress plugins which I recommend to use are Yoast SEO Plugin for doing SEO, TJ Custom CSS for customizing CSS, Autoptimize plugin for optimizing your site by aggregating, minifying and caching scripts and styles and injecting CSS.
>> You may want to learn how to install a shortcode in wordpress.
In conclusion
This post tells you all the basic steps to create your own WordPress website. After setting up the website, the next jobs you have to do are to develop content, customize the interface, optimize the content for Search Engine Optimization including on-page and off-page, speed up WordPress Website…. There is plenty of work that requires you to invest your time and mind.
For now, if you have any questions or difficulties while installing and setting up the WordPress sites, please tell me as below!


Leave a Comment
Log in to post a comment.