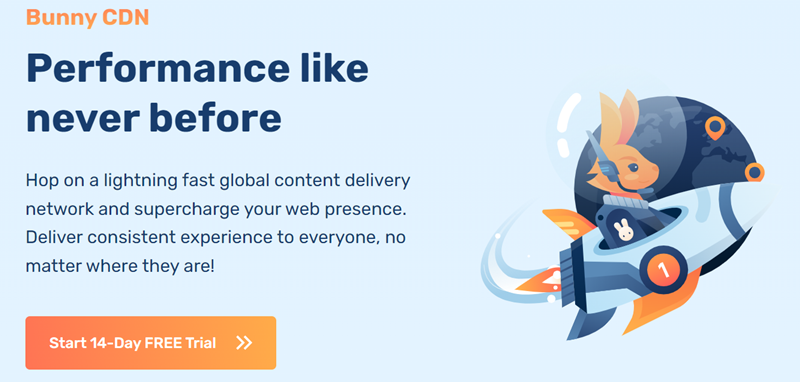
CDN on Bunny.net is useful for speeding up your website and easy to control. Thus, I like to use.
But, when you are a beginner, you may need a few tips to makes it run smoothly with CND Hostname?
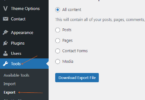
Step 1: Install Bunny.net plugin
Here are the steps to install the bunny.net plugin on your WordPress site:
- First, log into your WordPress admin panel.
- Once you’re logged in, navigate to “Plugins” and click on the “Add New Plugin” button in the menu.
- In the top-right corner, there will be a search box. Type “bunny.net” into this box and press enter.
- Locate the bunny.net plugin in the search results and click on the “Install Now” button next to it.
- After the plugin is installed, go to the bunny.net or bunny.net option on the left navigation panel of your WordPress admin and select “Login/Create Account”. Here you can either log in with your existing bunny.net account or create a new one.
- Once you’re logged in, choose the “Integration Wizard” to continue.
- Enter the URL of your WordPress website and click “Confirm URL”.
- If your bunny.net account already has a Pullzone set up for this URL, you will be prompted to either use the existing pull zone or create a new one. Decide based on your needs.
The bunny.net plugin is automatically activated once you complete the setup, no extra steps are needed, and you should see immediate improvements in your website’s loading times.
Step 2: Create a Pull Zone on Bunny
If you have pull zone on Bunny already, please skip this step.
If you want to know how to create it, please check it carefully here.
Here are the steps to create a Pull Zone for your website on bunny.net. Let’s go!
After logining your account on Bunny.net, please do:
- Navigate to the Dashboard: After logging into your bunny.net account, click on the ‘CDN’ subsection located under ‘Delivery’ on the left side of the page.
- Access ‘Manage Pull Zones’: Now, you’ll land on the ‘Manage Pull Zones’ page. Here, click on ‘Add Pull Zone’ which is located at the top right.
- Add Pull Zone: You’ll now be on the ‘Add Pull Zone’ page. On this page, you can finalize the creation of your pull zone. You need to fill out the necessary information such as pricing tier, origin type, and pull zone name.
- Name Your Pull Zone: The pull zone name you choose will become the default hostname for that pull zone. For example, if you name it ‘thomwebsite’, the hostname will be ‘thomwebsite.b-cdn.net’.
- Choose the Origin Type: Here, you can select either ‘Origin URL’ or ‘Storage Zone’. The ‘Origin URL’ is typically your website domain and where your existing content resides. The ‘Storage Zone’ option is used if you have files saved in a bunny.net Storage Zone which you would like to serve.
- Choose Your Pricing and Tier Zones: Finally, you’d select the network tier option that’s suitable for your needs. This can either be ‘Standard Tier’ or you might qualify for another option depending on your account type and needs.
- Finalize Your Pull Zone: Once all fields are filled out as per your requirements, click ‘Add Pull Zone’ at the bottom right. The pull zone will then be created.
After creating the Pull Zone, bunny.net would provide you some instructions on integrating it with software like WordPress, if you use that for your website. If you need more specific instructions for different systems or plugins, you can check the Integration Guides provided by bunny.net. If you run into any issues or need further assistance, don’t hesitate to contact bunny.net’s support team.
Your website now can run on CDN of Bunny.net with the CDN hostname that you choose, here is thomwebsite.b-cdn.net (please remember change thomwebsite into yours).
Step 3: Create your own CDN Hostname
When you want to have your own CDN hostname, example tw.thomwebsite.com instead of thomwebsite.b-cdn.net . You need to follow:
Step 3.1. Create CDN Hostname
Setting up a CDN hostname with bunny.net involves these steps:
- Register your domain on bunny.net: To do this, you need to go to your Pull Zone details page. In the General section, there’s a Hostnames panel where you can input the domain you want to use. After adding your domain, click on the ‘Add hostname’ button and it will appear in the Linked Hostnames list.
- Locate the CNAME Record: Just below the ‘Add hostname’ field, you’ll find the CNAME record. You need to copy this information because this will be needed in the next step.
- Create a DNS CNAME Record: For this step, you have to go to your DNS provider’s site. If you use cyberpanel, go to DNS — Add/remove DNS and create dns, this is an example. This record should be a CNAME type for the chosen hostname that you set in the first step – tw.thomwebsite.com for example. Now, you point this domain to the thomwebsite.b-cdn.net hostname (change thomwebsite as yours) into the record value field. Also, remember to set the TTL for the record; a recommended value is 3600 seconds or less because this prevents potential issues from incorrect DNS caching.
- Save the DNS record: The last step is simply to save the DNS record with your DNS provider. Once your DNS provider updates the DNS record, your domain will be connected to bunny.net. This finishes the process of setting up a custom CDN hostname.
This is nearly done. You need to active your own DNS hostname.
Step 3.2. Get your API key from Bunny.net
The API key provides authorization for performing actions on your account such as modifying hostnames. To resolve this, you’ll need to generate a new API key through the bunny.net dashboard.
- Login to your bunny.net account.
- Click on your username at the top right corner.
- Select “Access Generation”.
- Follow the prompts to generate a new API key.
Once you have the new API key, please copy it, then come back to your Bunny plugin on your wordpress website.
Step 3.3: Active your own DNS hostname
- Go to bunny plugin, navigate to CND
- Look at the bottom, you see API, enter the API bunny key here
- Move up at the same page, and find CDN Hostname, then click to select CDN hostname that you created in Bunny dashboard.
- Then, click save.
It is done.
If you still fee difficult to do, please contact Bunny support team or tell us! Thank you!